A Quick Bite of Nacho History
Nachos might feel like a modern party food, but their roots go back to 1943 in Piedras Negras, Mexico. Legend has it that Ignacio “Nacho” Anaya created the first plate of nachos when a group of military wives stopped by a restaurant after closing time. With limited ingredients on hand, he quickly assembled a snack of tortilla chips, melted cheese, and pickled jalapeños. The dish became an instant hit and spread across the border, evolving into the loaded, customizable crowd-pleaser we know today.
Nachos are the ultimate game day food: customizable, shareable, and easy to serve. A DIY nacho bar makes prep simple and lets everyone build their perfect plate — no oven time or fuss required.

Start with the Right Chips
Every great nacho bar starts with a solid foundation — the chips. Think of them like the blank canvas for all those fun toppings. Not all chips are created equal, so here are a few things to consider when setting up your chip station.
- Use sturdy, thick-cut tortilla chips
- Offer a mix: classic white, yellow or blue corn, or flavored
- Warm chips in the oven for max crunch
How Many Chips Do You Need?
- Plan for about 2 to 3 ounces of chips per person
- 1 standard 13-ounce bag of chips serves 4 to 6 people
- For larger crowds, plan for 1 bag per 3 people if nachos are the main event
Pro Tip: Keep extra chips warm in the oven.

Cheese Options for a DIY Nacho Bar
- Nacho Cheese Sauce — Classic, drizzle-friendly cheese dip that’s smooth and creamy. For a quick, semi-homemade option, melt Velveeta-style cheese with shredded cheese and taco seasoning. Or use a store-bought nacho cheese sauce and warm it in a slow cooker for easy serving. [Get my homemade nacho cheese recipe here — Coming Soon]
- Plant-based tip: For a vegan version, blend boiled potatoes (simmered briefly with garlic cloves), soaked cashews, plant milk, lemon juice, nutritional yeast (½ cup), garlic powder, onion powder, chili powder, paprika, and cumin. Strain and simmer until thickened, adjusting with broth or plant milk as needed. Recipe coming soon!
- Queso Blanco — A mild, white cheese dip that offers a different flavor profile. You can find ready-to-heat queso blanco at most grocery stores, or make a simple version by melting white American cheese with a splash of milk, diced green chilies, and a pinch of cumin. [Get my queso blanco recipe here — Coming Soon]
- Plant-based tip: Blend boiled potatoes (simmered with garlic cloves), soaked cashews, plant milk, lemon juice, nutritional yeast (2 tbsp), garlic powder, onion powder, and cumin. Strain into a saucepan and simmer to thicken, then stir in fire-roasted tomatoes and salsa verde. Thin with broth or plant milk as needed. Recipe coming soon!
Keeping Cheese Warm
Keeping cheese warm throughout your gathering is key to a smooth nacho bar experience. Since you’ll likely be setting up on a table without access to a stove or oven, small slow cookers, chafing dishes with fuel cans, insulated dip servers, or electric fondue pots are your best bet. If electricity is limited, insulated thermoses or heat-retaining bowls with lids can help. Stir the cheese sauce occasionally to keep it smooth and prevent sticking.

Protein Options
A well-rounded nacho bar offers more than just cheese. Proteins are the heartiest toppings, and they give your guests a chance to customize their plate to their dietary needs and cravings.
- Ground Beef — Brown ground beef in a skillet with taco seasoning or a simple mix of salt, pepper, cumin, and chili powder.
- Rotisserie Chicken — Shred store-bought rotisserie chicken and season with lime juice, garlic, and a sprinkle of taco seasoning.
- Carnitas — Use slow-cooked pork shoulder or precooked carnitas, warmed and crisped in a skillet.
- Carne Asada — Grill or pan-sear thin slices of marinated steak (lime, garlic, and cilantro work great).

Plant-Based Options
These add delicious variety and make the bar more inclusive. Simmering jackfruit or plant-based crumbles in a citrus-garlic marinade helps infuse flavor before crisping in a skillet or roasting for texture:
- Plant-Based Crumbles — Heat with the same seasonings you’d use for ground beef.
- Shredded Jackfruit — Sauté with lime and garlic; great texture.
- BBQ Jackfruit — Toss jackfruit with your favorite barbecue sauce.
- For a plant-based carnitas alternative, simmer jackfruit in a citrus-garlic marinade with cumin and oregano, then crisp in a skillet or roast for texture.
- Grilled Seitan or Mushrooms — Sliced thin and marinated for that umami depth

Beans — The Underrated Nacho MVP
Don’t underestimate the humble bean. Beans are budget-friendly, filling, and a great source of plant-based protein. They also help balance out the rich cheese and meat flavors on the plate.
- Refried Beans — Smooth and creamy. Use canned or homemade; warm gently and stir in a splash of broth to keep them soft.
- Black Beans — Use whole or lightly mashed. Season canned beans with lime juice, cumin, garlic powder, and a bit of salt.
- Pinto Beans — Great mashed or whole. Dress up canned beans with cilantro, cumin, and a splash of broth for easy flavor.
You can absolutely make beans from scratch if you have the time — slow-simmered pinto or black beans with garlic, onion, and bay leaves are packed with flavor. But canned beans are perfectly fine for a nacho bar, especially when dressed up a little.
To keep canned beans flavorful and moist, warm them on the stovetop or in a slow cooker with a splash of broth


Fresh & Cold Toppings for a DIY Nacho Bar
This is where your nacho bar really shines. Fresh toppings not only add color and texture, but they also bring brightness and balance to every bite. Think crunchy, cool, and zesty ingredients that contrast all that melty goodness.
Layering Tips
Want to help guests build nachos that don’t get soggy or fall apart? Here’s the best order for layering:
- Start with warm chips – they provide the crunch foundation.
- Drizzle warm cheese sauce – this acts as a binder.
- Add proteins or beans – keep them warm to maintain texture.
- Layer cold toppings – salsas, crema, guac, and fresh veggies.
- Finish with flavor – cilantro, lime juice, or your favorite hot sauce.
How to Set Up a DIY Nacho Bar for Game Day
Equipment
- Serving bowls For chips, toppings, beans, and cheese sauces
- 1+ Slow Cooker, warming plate, or chafer For keeping cheese sauces and proteins warm
- 1 Sheet Pan Optional, for warming chips in the oven before serving
- 1 per bowl Serving utensil Spoons, ladles, or tongs depending on the topping type
- Labels or signs For marking toppings and noting allergens or spice levels
- Small table or surface Used to set up the bar; a folding table or sideboard works well
- Linens or decor Optional, adds color and helps catch crumbs
Ingredients
- 2 lbs Tortilla Chips Offer a mix of white, yellow, blue, and flavored chips
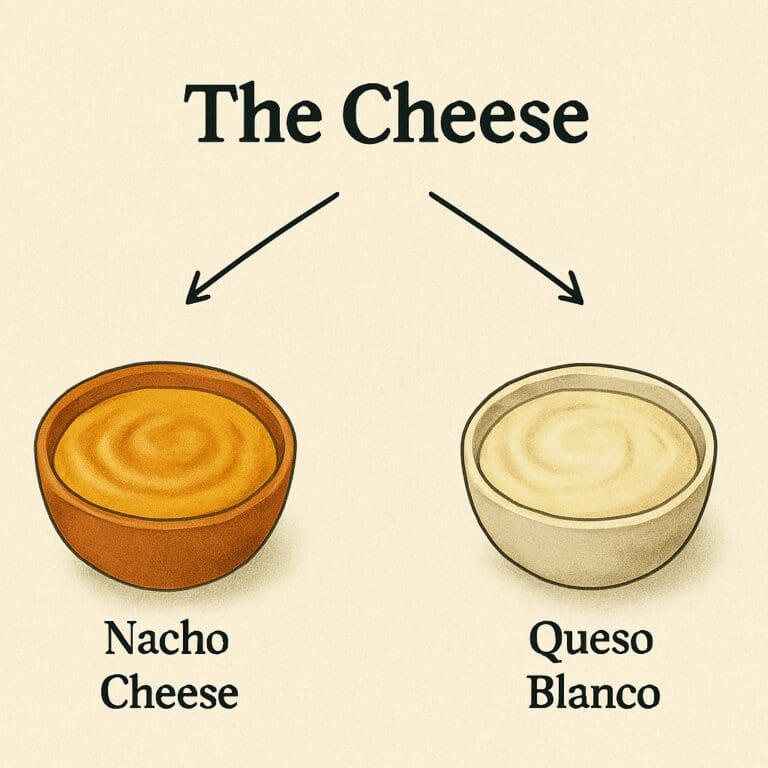
- 3-4 cups Cheese sauce Split between nacho cheese and queso blanco if desired
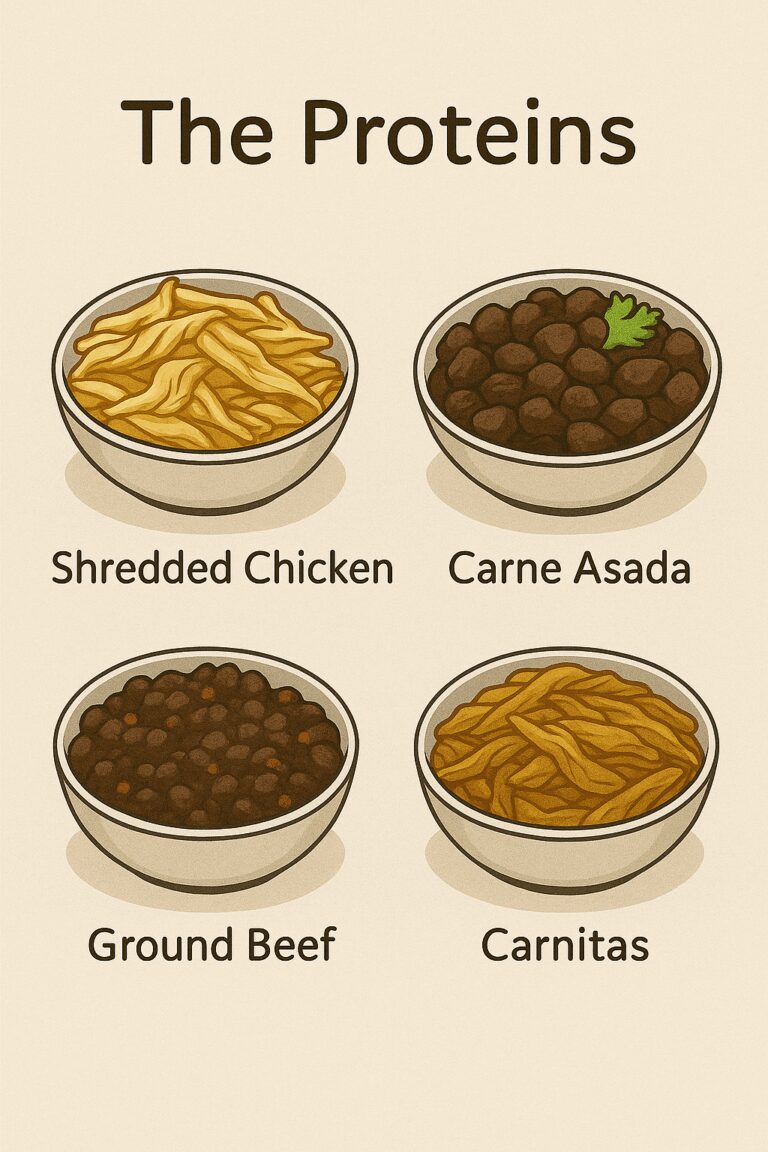
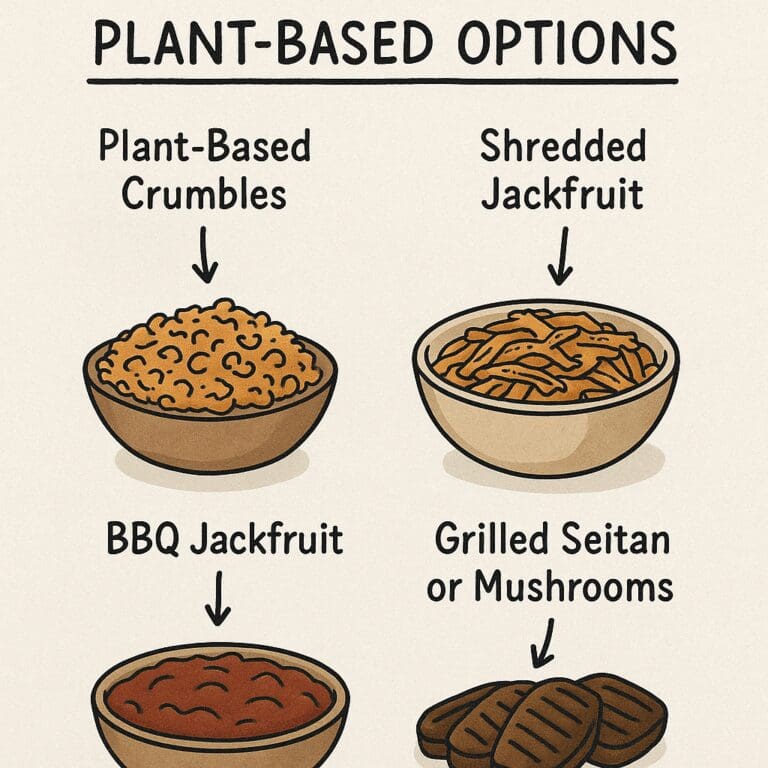
- 2-2.5 lbs Protein of choice Ground beef, chicken, carnitas, or plant-based options
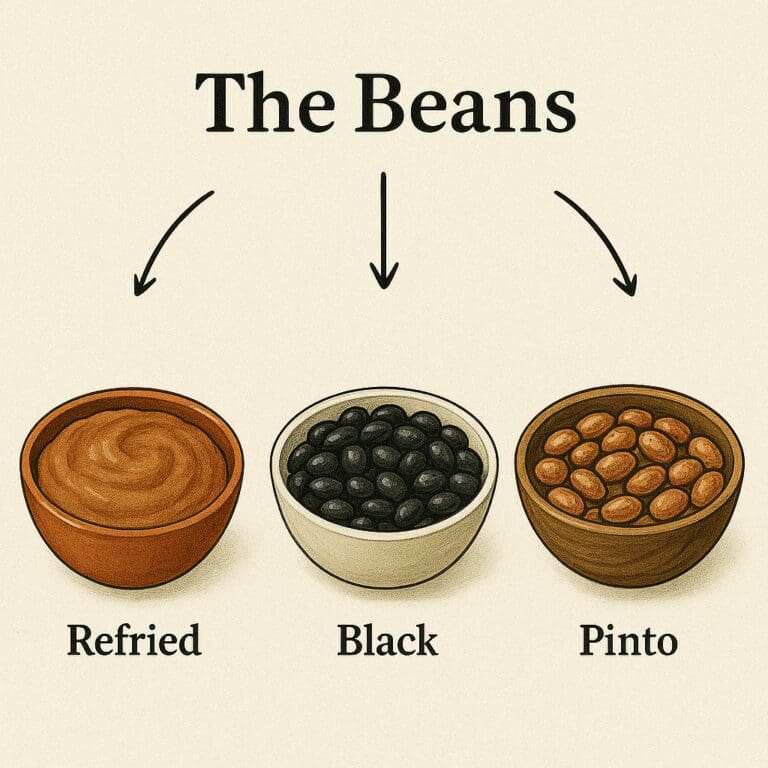
- 2-3 cups Beans Refried, black, or pinto; seasoned and warmed
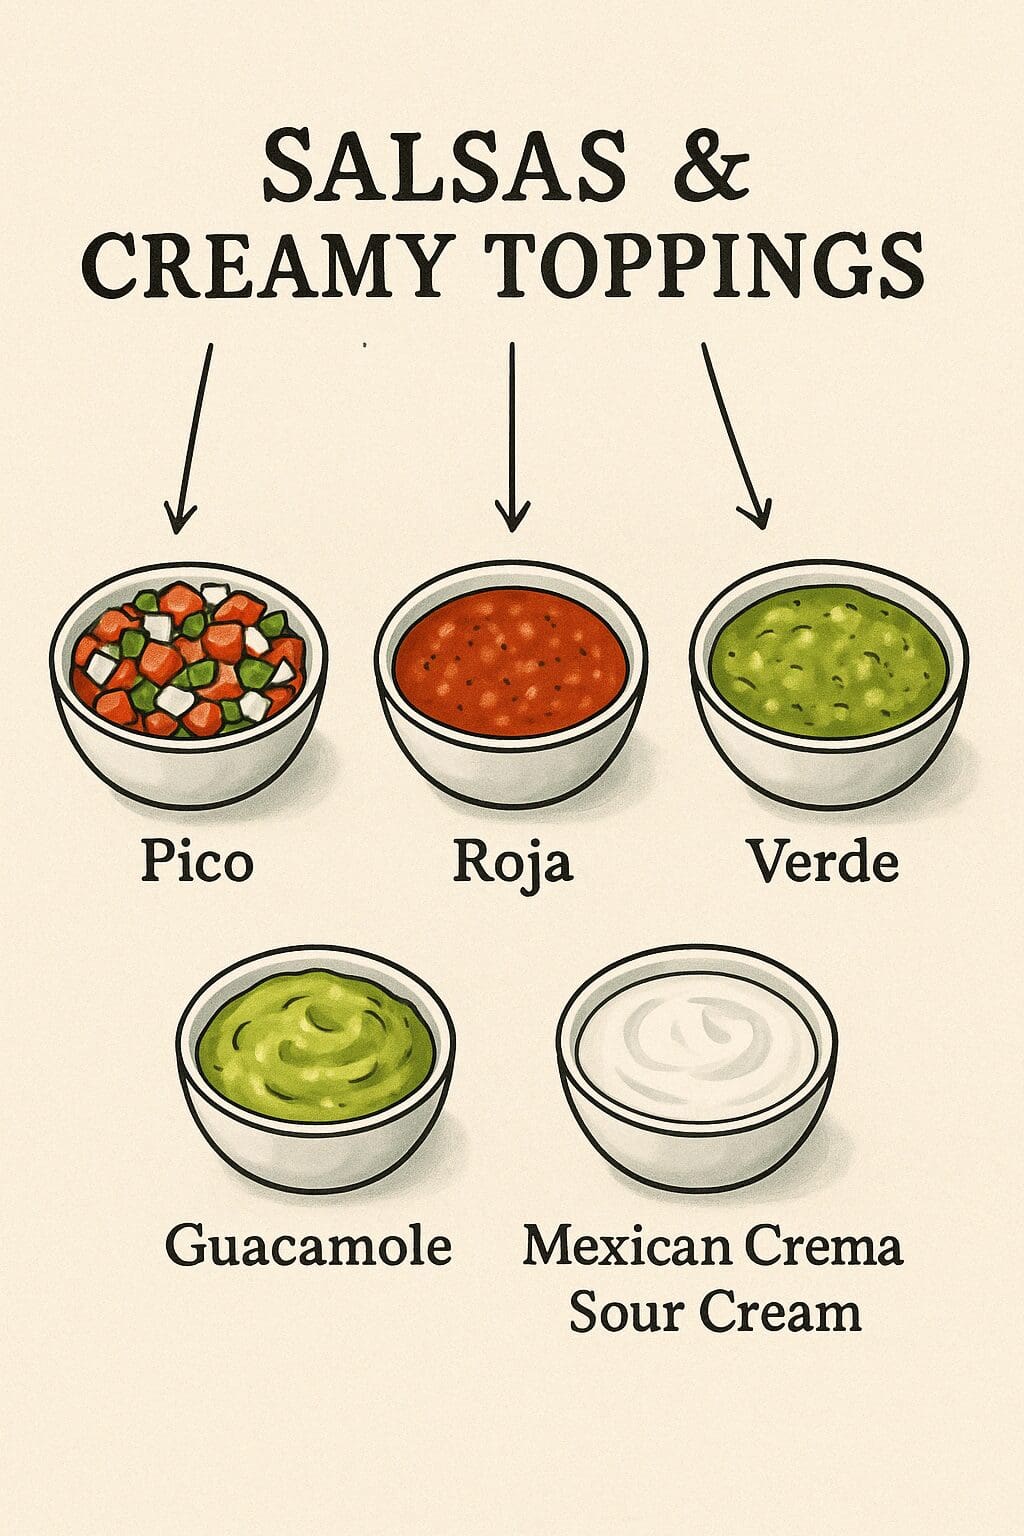
- 2 cups Salsa Include roja, verde, and pico de gallo
- 1.5 cups Guacamole Optional, but popular
- 1.5 cups Mexican crema Or sour cream thinned with lime juice and milk; serve chilled
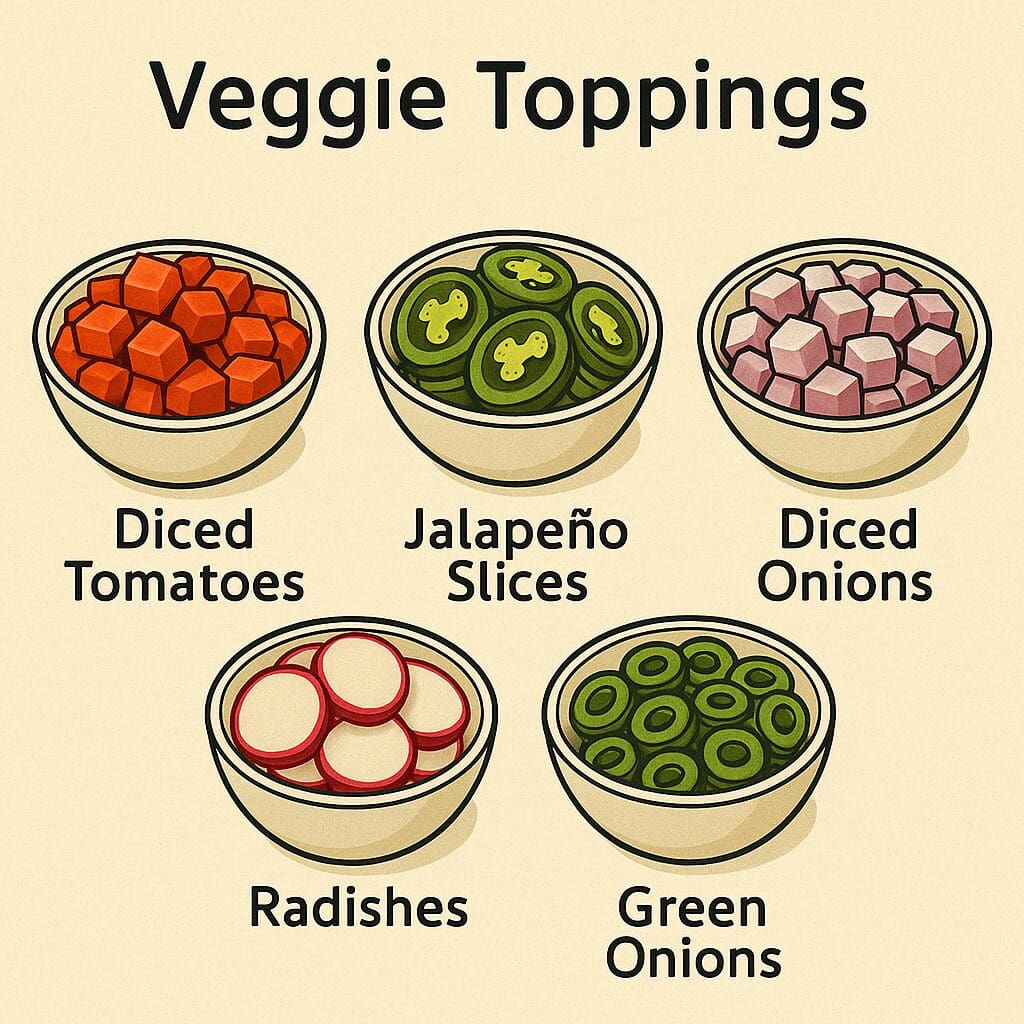
- ¾ cup Roma Tomato, diced About 3
- ¾ cup Diced onions Red or white, for bite and crunch
- ¾ cup Green onions Sliced thin on a bias
- ¾ cup Jalapeño slices Fresh or pickled
- ½ cup Radishes Thinly sliced for color and crunch
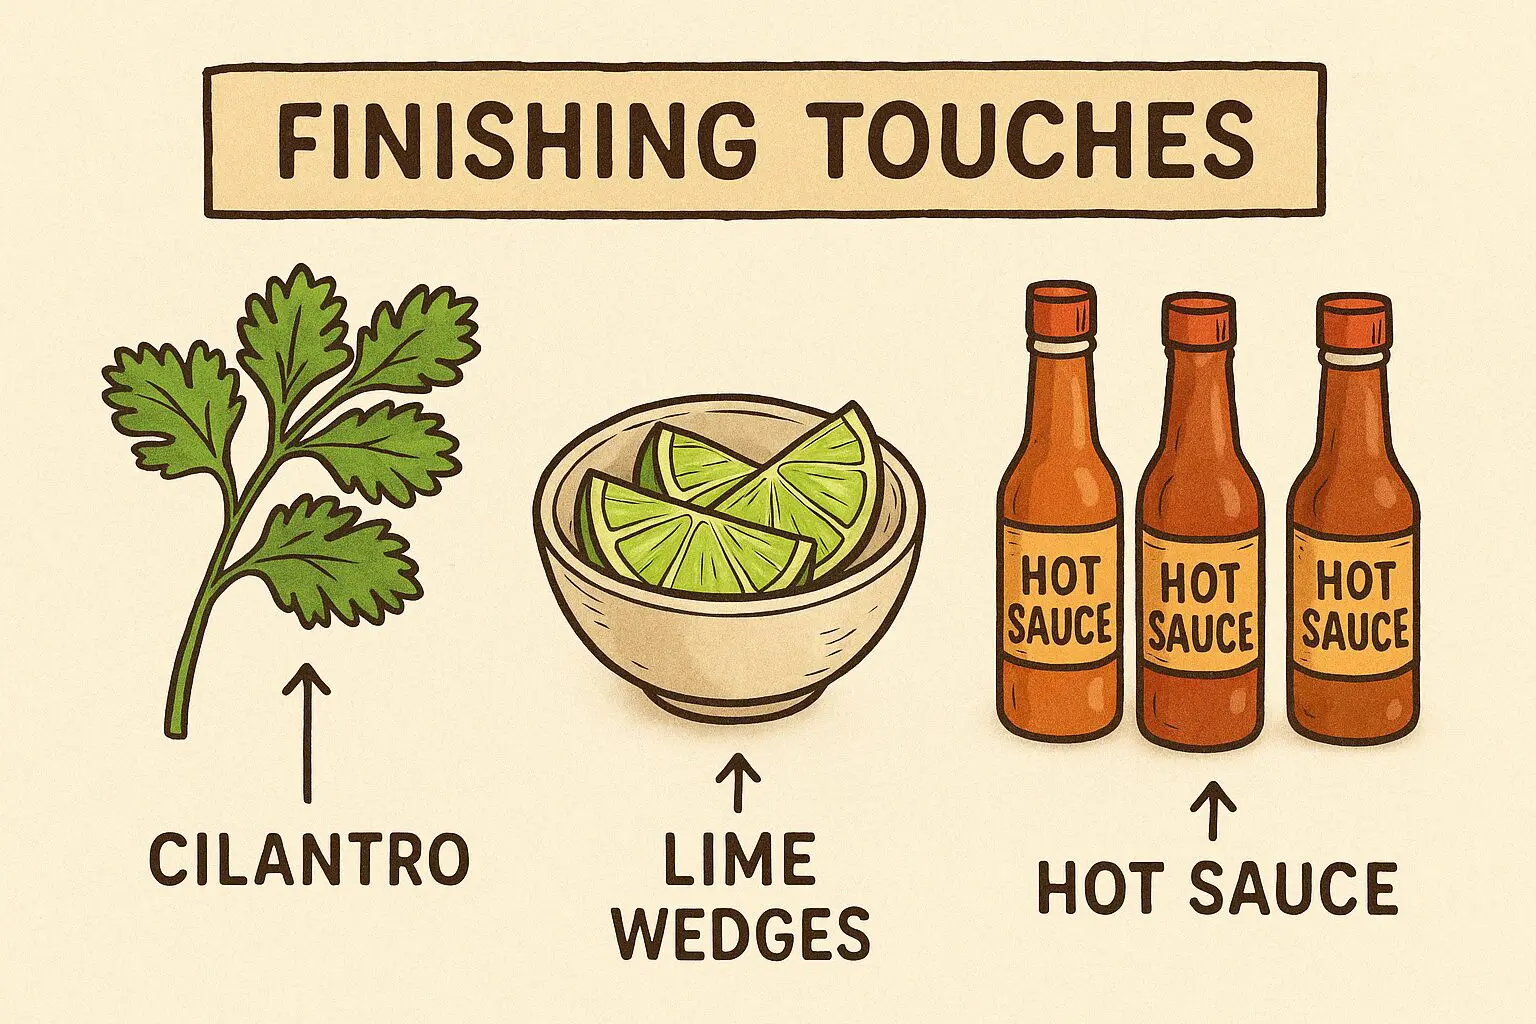
- ½ cup Cilantro leaves, chopped
- 3 each limes, large cut into wedges
- Hot sauce A variety: Tapatío, Cholula, Valentina, Melinda’s
Instructions
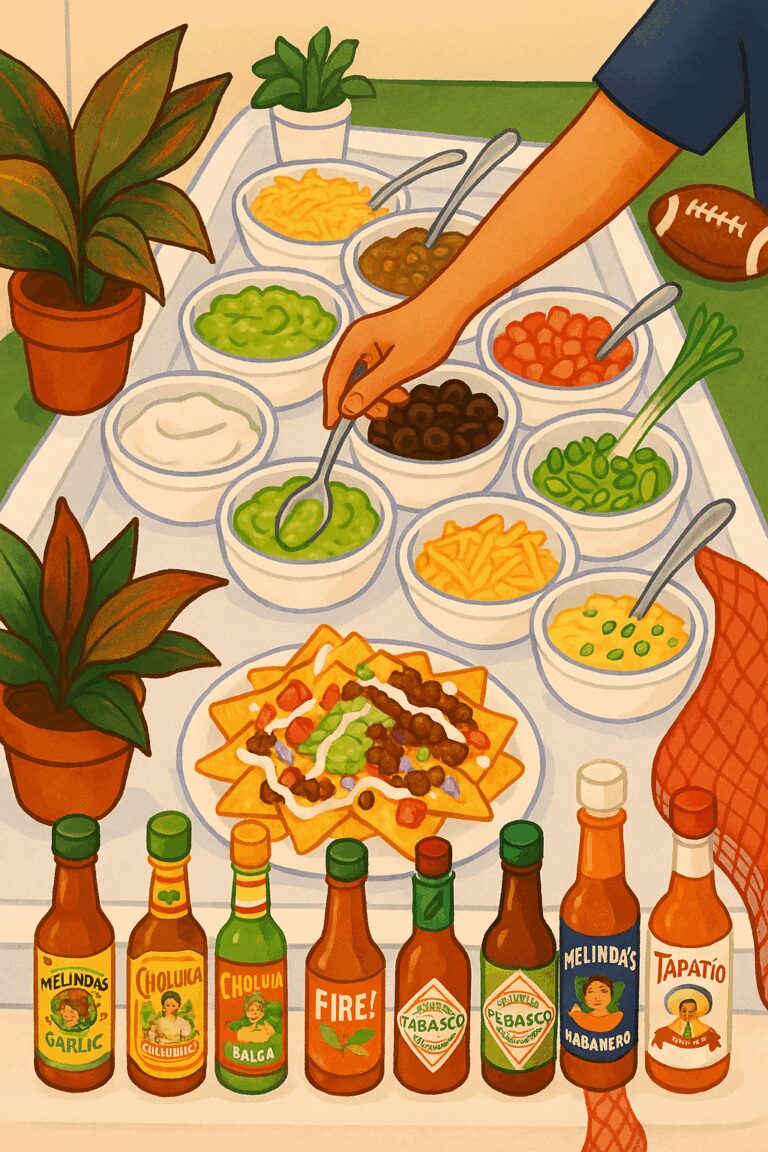
🛠️ Step 1: Set Up Your Nacho Bar Before You Add Food
- Before warming the cheese or slicing a single jalapeño, plan your bar layout. This saves you time, stress, and mess once guests arrive.
📏 1. Choose Your Surface Wisely
- Use a long table, kitchen island, or buffet sideboard.
- Allow 2.5–3 feet minimum of width to accommodate bowls and serveware.
- If outdoors, make sure it’s level and shaded.
🧊 2. Plan for Cold & Hot Zones
- Think of your nacho bar like a buffet with temperature zones:
- Cold Zone Ideas:
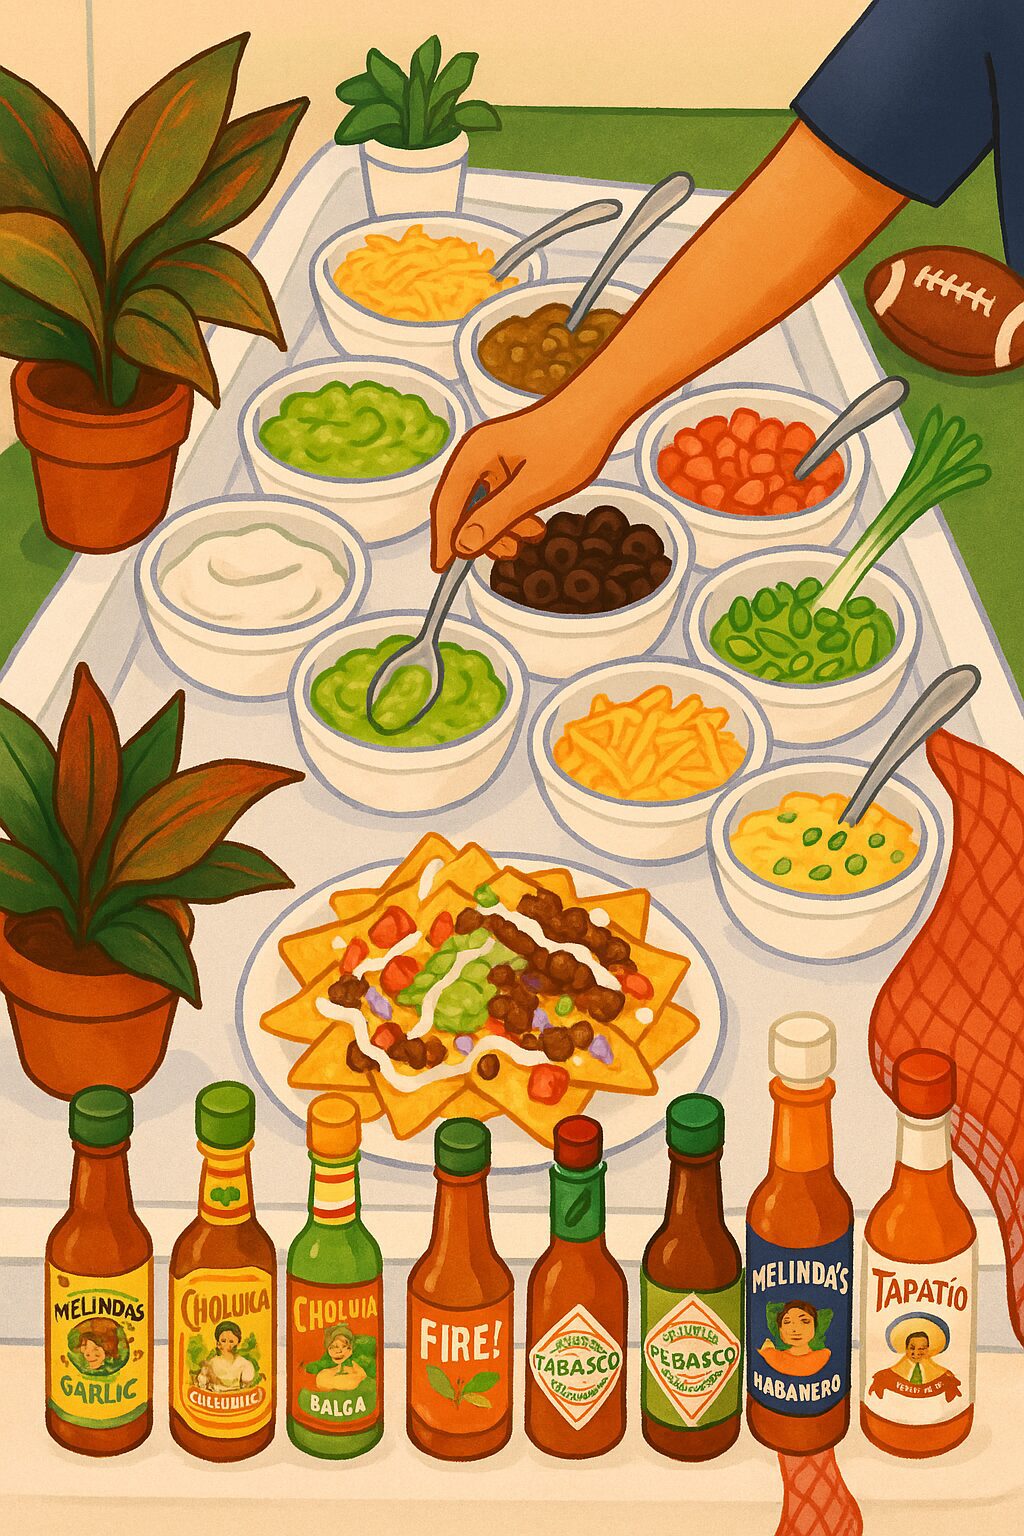
- Nest serving bowls in shallow trays filled with ice packs or reusable freezer bags
- Use compact cold bar insert trays (like the image shown) with lift-out compartments and a lidded top
- Place high-risk items like guac and crema close to serving time or in a chilled section
- Hot Zone Ideas:
- Use slow cookers or chafing dishes for cheese sauces, beans, and proteins
- No outlets? Try:
- Tea light warmers for small trays or dips
- Electric fondue pots for cheese
- Warming trays for holding several hot items at once
- Keep lids on to retain heat and reduce drying out
🗺️ 3. Sketch Your Layout
- Mock it out before you add food. Suggested flow:
- Plates + Napkins
- Chips
- Cheese Sauces (side-by-side)
- Proteins + Beans
- Salsas + Creamy Toppings
- Fresh Veggies
- Finishing Touches (lime, cilantro, hot sauce)
- Leave 4–6 inches between bowls for utensils and guest spacing.
🧼 4. Prep Linens & Backup Supplies
- Use a washable tablecloth or runner to catch drips
- Set a towel or tray under cheese warmers or guac bowls
- Have extra utensils, napkins, and wipes ready nearby
🧪 Step 2: Fill and Maintain Your Nacho Bar
- Once your zones are mapped out and equipment is in place, it's time to load up each section with your toppings — and make sure everything stays safe and delicious for the full event.
🧀 Start with Cheese and Hot Items
- Pour nacho cheese and queso blanco into separate slow cookers or fondue pots
- Add proteins and beans into slow cookers, chafers, or warming trays
- Keep these items on “warm” or low — aim for 140°F or above to stay food-safe
- Stir every 15–20 minutes to prevent scorching or clumping
❄️ Add Cold Toppings Last
- Pull guacamole, crema, and salsas from the fridge right before serving
- Nest bowls in a chilled tray insert or over a bed of ice packs
- Rotate backup portions from the fridge if you’re serving for more than 2 hours
- Keep cold items at 40°F or below to prevent spoilage
🥗 Load Fresh Veggies Near the End
- Spoon fresh toppings like onions, tomatoes, jalapeños, radishes, and cilantro into clean bowls
- Offer individual utensils for each item to avoid flavor transfer or contamination
- If you’re using ice trays underneath, line with parchment or cloth to prevent wet bottoms
🌶️ Finish Strong with Sauces & Citrus
- Line up hot sauces from mild to wild (label if possible)
- Place lime wedges and any extra toppings like crushed chips or scallions at the end
- Keep it clean: provide small napkins or wipes near the sauce station
💬 TBPK Pro Tip:
- If your party goes for more than 2 hours, plan to swap out hot and cold items with backup portions from the kitchen or fridge. Keeping a stash of extras prepped and labeled can make refreshing your nacho bar quick and painless.
Final Thoughts
Setting up a DIY nacho bar isn’t just about putting food on a table — it’s about creating a fun, interactive experience for your guests. With a little planning and a variety of toppings, everyone can build their perfect plate. And that’s what makes this setup so crowd-friendly and stress-free for the host.
Planning your next game-day menu? Keep an eye out for my guide on Game Day Prep Tips for more crowd-pleasing ideas.